So, I applied to take part in Paper Artsy's 2UP challenge, and I got selected (aargh). I would be using Paper Artsy Infusions and Ink & the Dog stamps (what was I thinking). So PANIC. I loved infusions and had done a journal page using them after viewing this You Tube video by Vicky Papaioannou.

But this was all I had done and having never done a design piece before, the pressure was well and truly on. I didn't think I would be able to find the time to do this, but we had a fairly decent lead time, so I started experimenting with Infusions to see what I could do with them.

These are all my experiments, I tried it with everything, water (of course), gel medium, paint, crackle glaze (didn't work), metallic glaze, pearl glaze. I loved the effect on the paper towel from mopping up and using it over white embossing. Using it in paint was great for a varied effect and could be built upon with a wash of infusions on top when dry as well. Such a versatile product.


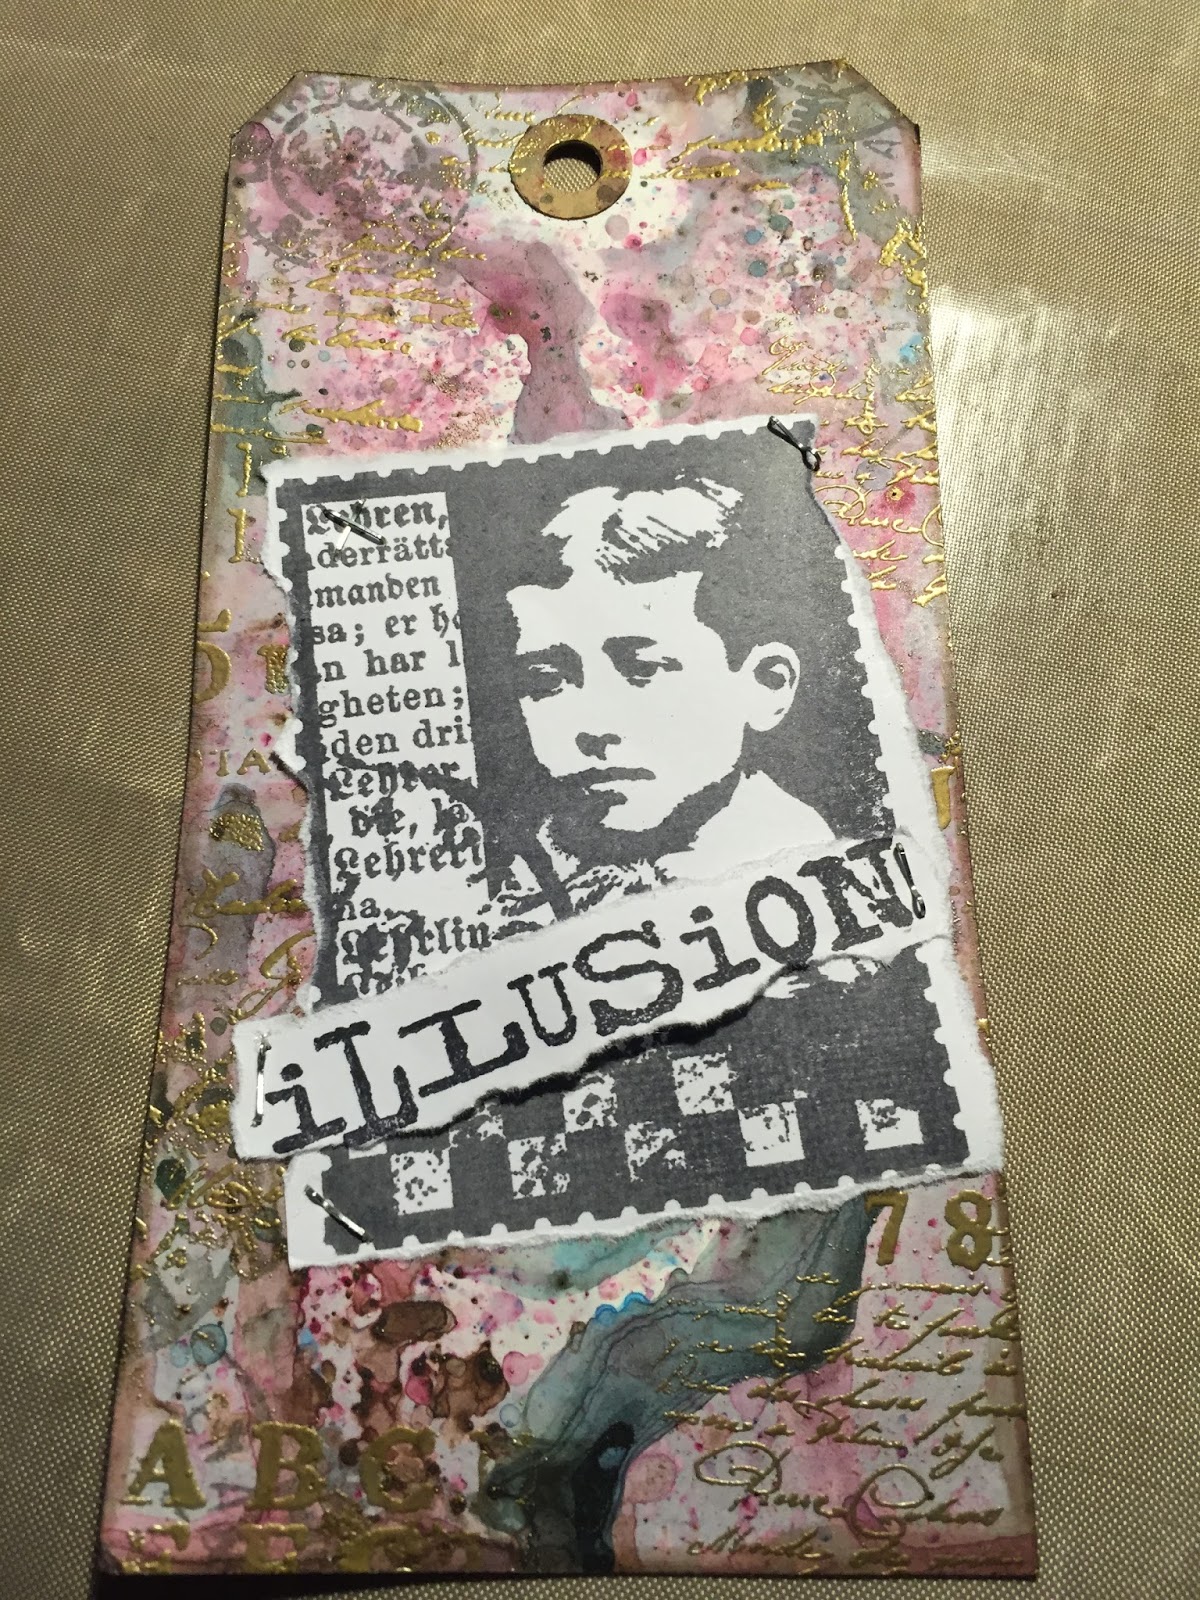
My most successful experiment, was this tag, I used the Tim Holtz DI pick-up effect with the Infusions and water, and added more layers until I was happy. I loved the dots of colours and the blue river of colour. I then used some background stamps from Words 4 and Man of Numbers 6 to gold emboss around the edges. I liked the richness this added, I then looked at adding various images to the tag. So I'd found my look, now to apply it to something else.


I started with a Slide Mailer and base coated it in white acrylic paint using a Catalyst scraper which gives a nice smooth finish. I then placed my Dutch Doobadoo mask on top, sprinkled infusions in Blackcurrant & Jade (love this colour combo), sprayed with water and removed the mask (oooops) it leaked underneath, but I quite liked the happy accident and decided to go with it.


After drying, as I loved the shape on the on the mask so much, I decided to highlight it by adding some Paper Artsy Grunge Paste through the mask in a random swipes, once dry I stamped in versamark using Word Plate 3 and Man of Number Plate 6 and then heat embossed in gold around the edges. Even though the Grunge Paste had picked up some colour from the layers below, I used Treasure Gold in White Gold & Aquamarine to highlight the shapes and to blend in with the background.


I loved the way the treasure gold changed the heat embossing on top of the Grunge Paste.


Once my outside cover was done I played with ideas on how to decorate it using stamps ribbon and metal trinkets. I used Mystery Plate 3 from Ink & the Dog stamped in Staz-on on some cotton, I then trimmed the cotton down and frayed it on all sides, the metal coins I altered using Treasure Gold to match the colour scheme, and I found this beautiful ribbon in my stash, I tried various options before deciding on the final placement of these items.


Now I knew what image I wanted to use from Wings Plate 3, so I created a background to stamp on using white acrylic paint and infusions, I painted it horizontally to contrast with the vertical strokes on the mailer

I then stamped in Rangers Archival Ink on
the background and using various bits of paper from my experiments, I paper
pieced the wings and pedestal. Stamped the word Illusion (didn't realise
until I had finished, how close it is to infusions!!!, I should have tried to manipulate it, oh well hindsight is a great thing) on fabric

I also stamped some images from Mystery
Plate 3 onto fabric and then played with arrangements before sticking down. The
mobile comes in handy for this as I take pictures of each version so I can look
at them together and choose which one I want to use.


So here it is my finished project, I am very proud of it and hope you like it too.


A view of my desk at the end of this challenge

and the products I used

Thank you very much Leandra & Darcy for giving me this
opportunity, I enjoyed it so much and loved stretching myself to create an
original piece.
I hope you have enjoyed reading this post and about my journey and most
of all I hope you like my piece. I just ask that you please leave me a
comment letting me now what you thought.